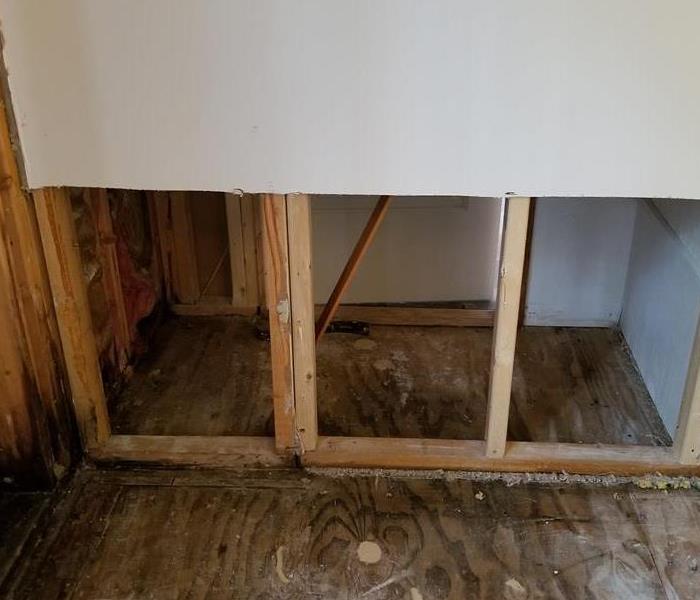
Addressing a Common Kitchen Woe: What to Do When Your Dishwasher Leaks
7/20/2023 (Permalink)
A leaking dishwasher can quickly turn a mundane household chore into a frustrating problem. Not only can it cause water damage to your kitchen floor and cabinets, but it can also disrupt your daily routine. In this blog, we will provide you with a step-by-step guide on what to do if your dishwasher leaks. By following these proactive measures, you can address the issue swiftly and minimize any potential damage.
Step 1: Shut off the Power and Water
As soon as you notice the dishwasher leaking, turn off the power supply to prevent any electrical hazards. Locate the circuit breaker or switch that controls the dishwasher and turn it off. Additionally, turn off the water supply by closing the shutoff valve located under the sink or near the dishwasher.
Step 2: Assess the Leakage Source
Before taking any further action, identify the source of the leak. The most common areas of leakage include the door seal, drain hose, water inlet valve, or the bottom of the dishwasher. Carefully inspect these areas to determine where the water is coming from. Keep in mind that leaks may be visible during different stages of the dishwasher's cycle, so observe the unit for a complete picture.
Step 3: Clear the Area and Remove Excess Wate
To prevent further damage, remove any standing water from the kitchen floor. Use towels, mops, or a wet/dry vacuum to absorb the water and dry the area as much as possible. This will help minimize the risk of slips and falls and prevent additional damage to the flooring or nearby furniture.
Step 4: Check and Tighten Connections
Often, leaks can occur due to loose or damaged connections. Inspect the water supply line, drain hose, and any other visible connections for signs of looseness or damage. Tighten any loose connections using a wrench or screwdriver, ensuring they are secure but not overtightened. If you identify any damaged parts, such as cracks or holes, they may need to be replaced.
Step 5: Clean the Dishwasher
Sometimes, leaks can be caused by clogs or debris obstructing the drainage system. Remove the dishwasher's bottom rack and thoroughly inspect the drain area for any food particles, debris, or blockages. Use a soft brush or cloth to clean the drain and remove any obstructions. This simple maintenance step can often resolve minor leaks.
Step 6: Test for Leaks
After performing the necessary checks and repairs, it's crucial to test the dishwasher for leaks. Turn on the water supply and power, then run a short cycle to see if any leaks persist. Observe the unit closely during this test and check for any signs of leakage. If the problem persists, it may be advisable to contact a professional appliance repair technician for further assistance.
Step 7: Prevent Future Leaks
To minimize the chances of future leaks, it's important to practice regular dishwasher maintenance. This includes cleaning the filters, inspecting hoses and connections periodically, and avoiding overloading the dishwasher. Additionally, using the appropriate detergent and following manufacturer guidelines will help ensure the longevity and efficiency of your dishwasher.
Dealing with a leaking dishwasher can be a hassle, but by following these steps, you can effectively address the issue and prevent further damage. Remember to prioritize safety by shutting off the power and water supply, assess the leakage source, clear the area, check and tighten connections, clean the dishwasher, and test for leaks. Regular maintenance and preventive measures will go a long way in keeping your dishwasher in optimal condition and minimizing the chances of future leaks. If the problem persists or seems complex, don't hesitate to seek professional assistance to resolve the issue promptly and efficiently.


 24/7 Emergency Service
